I just delivered an inventory to Butters and beans today. I love the store it is a all American mostly handmade baby store. It is in a fancy strip mall (across from Eddie Bauer)in a burb of Minneapolis, and the shop owner is convinced that the stuff will sell.
the store is pretty fancy. I am flattered, but the honest dominant feeling I have is that the things I make are full of flaws. the stuff in that store is amazing. some day I will be amazing too right?
The last month I have been preparing the stuff. I started with picking at it like one day I cut out a bunch of shoe linings, and embroidered a little here, and a little there. then I realized that my plan was huge!
then I realized 2 weeks ago that my efforts were pithy.
so for the last two weeks I have been running a sweatshop. here are some samples:
and the result is 22 shoes


 (30 including gift sets) 12 hats,
 9 headbands,
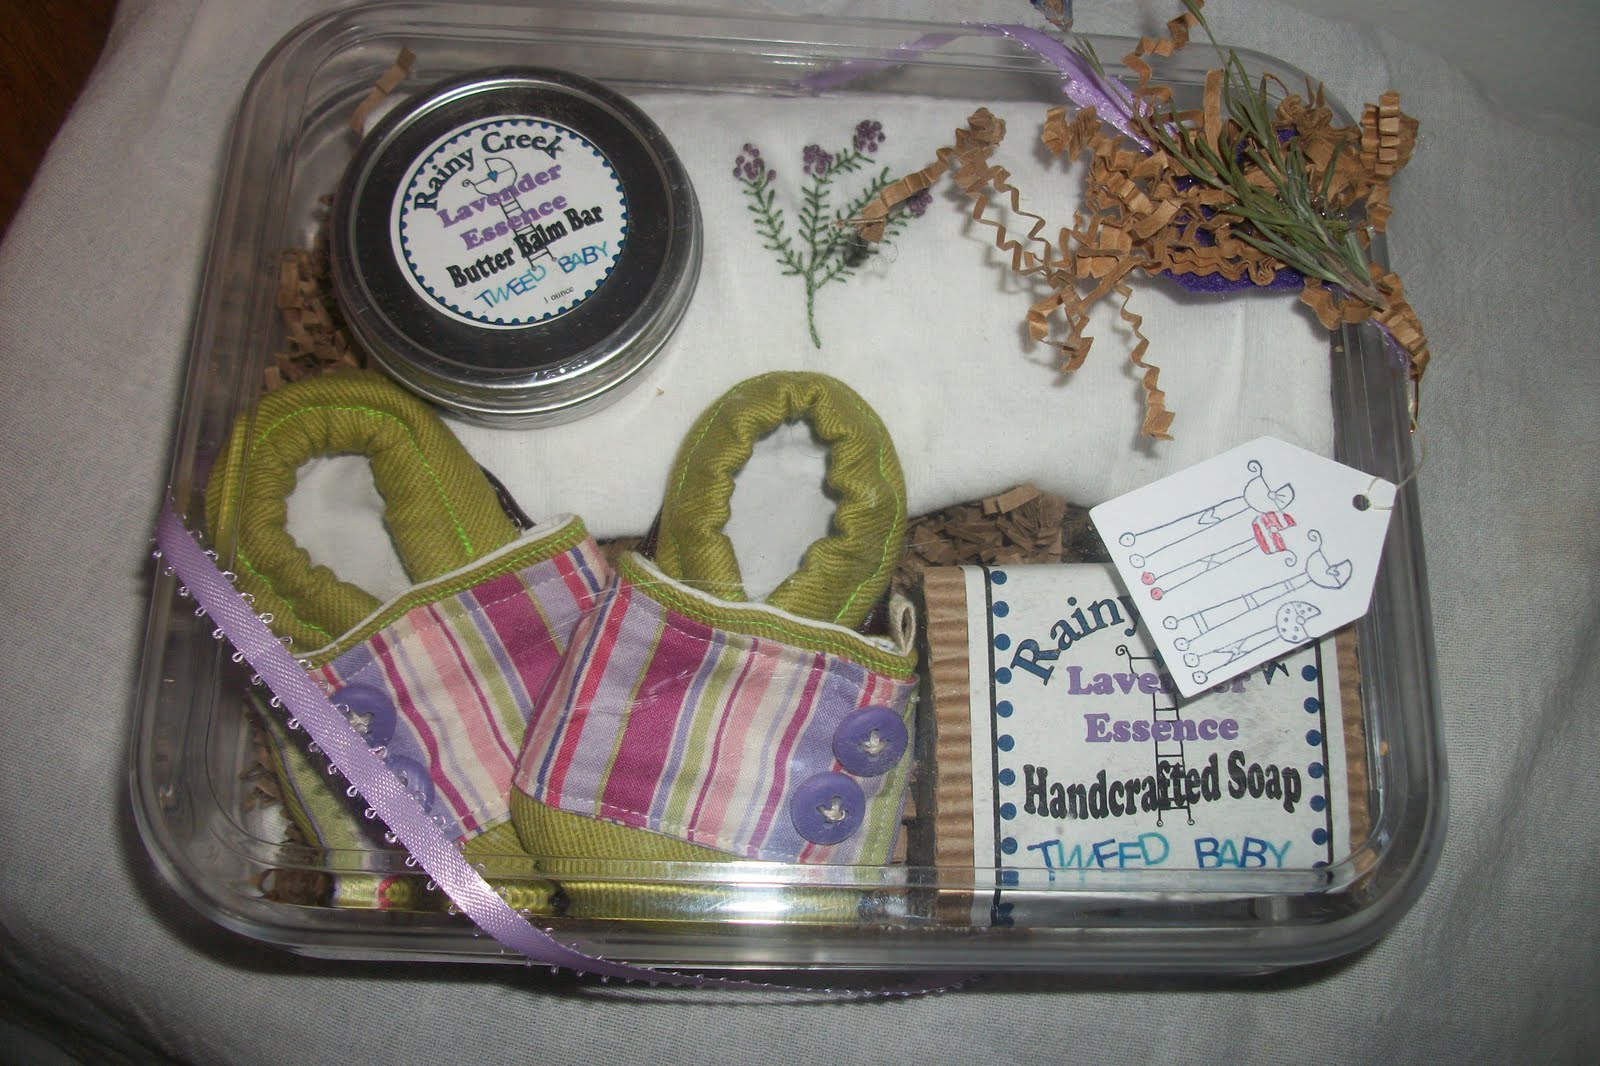
8 gift sets


it seemed like more doing it all at once. Last week my sewing machine broke.it did some damage to my appliques which made me sad. they still turned out ok, but not my best work. bad timing eh? so i took it in to get it fixed and they let me use a loaner. which was broken too. so i spent the day cutting which was one blessing in disguise.then I tried another one. then I sewed all that leather with a machine that was not mine (moohaha), and mine will come back good as new. if only it were free...
in the meantime... E lost her 2 font teeth (this is after the 1st)
 L. tried her hand at hairdressing.
  and R took many floor naps she is currently boycotting her bed unless she is too tired to notice.
the kids watched more movies than were good for them, and my fingers are still showing the evidence of all that hand stitching.
I will not show my craft room it will take days to clean.
I need a nap.
was it worth it? I don't know. I need to figure it all out. I love the idea of being paid for stuff I already made. my etsy shop orders are mostly custom orders. next time I will make more of the same designs. it was fun to design, but changing the thread 20 times is not fun.
I have no idea if it will be worth my time, or where this is all going, but I like making shoes more than hats, and that is what they want at the store.