Showing posts with label kid clothes. Show all posts

Thursday, July 21, 2011

voluminus velor cloak tutorial


I tried out a new way of posting tutorials. I promised the cloak tutorial from L's birthday and

here it is!

there is a website called Meylah that allows you to open a shop and a blog and post tutorials. I have not figured out how to use it all yet, but the format for the tutorials is really nice,and it even has the option of a printable version of the tutorials.

I love the tutorial format, and the overall appearance. I don't love that it is rather hard to see what people post in the free part of the site you can pay a monthly fee, but I really don't think I want to.
so if nothing else I will probably use this to do tutorials in the future.

Friday, July 15, 2011

A Weighted Vest Tutorial

A weighted vest is a therapeutic treatment for kids with varying special needs. It can be used for kids with ADD to help them focus, for kids with anxiety to help them feel comforted, and to help curb various behaviors for kids with autism. Occupational therapists swear by them. Recently I saw a post on freecycle of someone looking for one and I was touched. I have a sister who has given much of her life to treating the special needs of her sons. Her son who has severe autism was non verbal until he was almost 5. He is now 12 and mainstreamed in school without an aid. If there were a poster child for the wonders of specialized treatment he would be it. So I offered to make one.
Weighted blankets are a common treatment for the same symptoms. But they are not practical in the summer.
The problem with most weighted vests you can buy is A: they are expensive, and B: they are ugly and scream special ED. I was a bullied kid. I think we owe it to our kids to do what we can to not draw attention to their problems.

I did not get a picture of the finished product, so you will have to use your imagination.
This is a reversible vest pattern I used. This is perfect because I made a removable lining to add and subtract weights from, That fits inside this vest .the idea is a liner with pockets to fill with metal washers
Supplies :
stuff to make the shell
4-5 yards of fabric (it does not need to be pretty I used a sheet)
½-3/4” metal washers whatever total weight you want.
Invisible ink (my favorite thing ever!!!)
Sew in Velcro.

Instructions:
1.Make your shell vest but leave the shoulders incomplete. Add a invisible (or lapped)zipper along one of the side seams.
2.With a helper cut out your vest (the same pattern-.5” on each edge)in any throw away fabric you can find. ( I used a sheet I got from when I worked as a housekeeper. Don’t worry I washed it.)

My baby sits on anything I try to do on the floor. Here she is having a snack break.


3.Next make the “pockets” I did it by making tons and tons of 3 inch strips and sewing them in tubes, and turning them. If I could do it again I would just press them in half

4.Attach them to the vest in horizontal rows onto each piece. if you folded the strips in half sew them with raw edges facing up along where the bottom of the pockets should be, then fold it up and press. hiding the raw edges.


5. next make 1” pockets by sewing vertical lines over your sewn on strips. Mark sew lines with invisible ink.

6.Sew the side seams of your vest. (Do not sew the shoulders.) with the pocket sides facing each other. Turn.

7. finish the edges of lining vest with a serger if you have it or use an overcast stitch to enclose the edges. your sewing manual can tell you how to use it. My sewing machine has a special stitch and a foot, but there is not really a standard.

8.add Velcro to the unsewn shoulders on the OUTSIDE of the vest. On each of the 4 corners.

This part is done!


9. take a piece of heavy fabric(I used an old pair of khakis), and make a 2 squares the width of the shoulders minus 3/4”. (sorry for the fuzzy pic.)


10: attach Velcro onto each of the 4 corners of each square all on the same side of the fabric.


11: finish shell vest shoulders as the instructions here demonstrate, place the Velcro square in between the layers with the Velcro facing down(as in if you are looking at the vest from above the Velcro should face the floor), half the Velcro in front and half in back. Sew the shoulder seam.
That’s all!

Tips:
1. to get the shoulders to line up better line up the edges of one side by feeling for the edge on the other side as you pin.
2. inserting the lining can be tricky. when I played around with it, I fount it was easiest to start by putting in the front panel of the opposite side than the zipper. 1st, the back on that side next, then the other side back after that, and finally the front of the side with the zipper.
3. I chose washers because the weight can be shifted in a multitude of patterns. The research says that around the shoulders, and upper back seems to work the best. If you don’t want to have them move around, you can sew them in, but be careful not to break your needle.
3.When researching this I saw a suggestion. when compression is needed to use a neoprene swim shirt (thrift stores have them sometimes) under the child’s clothes

If anything is unclear please let me know or suggest changes!

Here is to all those amazing pro-active mothers out there!

Tuesday, June 21, 2011

Summer Knit Dress with Peonies Tutorial


I made this dress for my oldest Daughter to wear this summer
Here is the pattern
it is the slip with sleeves. it makes a great knit summer dress too!
I made this a 5t size by adding 5” to the hem and making the neck hole a little bigger.
You need 1 yard of fabric (I used a thrift store gem, of nebulous size).. If in doubt measure your pretty princess from the shoulder along the back, to however long you want the dress and buy according to that.

Pre-shrink the fabric.
Cut
Start by finding which way the fabric is stretchiest. This will be the width direction of the dress.
Fold the fabric and cut your pattern pieces out.


And a 2x24” strip for the neckline
Sew
With right sides together take your pattern pieces and pin at the shoulders.

When sewing knits is works best to use this stitch. (the small zig-zag)

it won't break as easily as a straight stitch as the fabric stretches. You may need to mess with the tension to make this work right. Also knit can break the thread, so be prepared to thread the needle a few times.
I Sew using the edge of my sewing machine foot as a guide.(this is larger than 1/4 “ and smaller than ½”) don’t forget to backstitch!
Sew sides as indicated on the pattern below the arm holes.

Turn
Press. Along the edge of the dress.

Press your fabric strip in half some knit holds pressing better than others it is ok if yours does not.

Pin strip to the neck stretching the strip as you go. If you do not it will come out like an overstretched t-shirt.

when you get back to the beginning close the strip into a circle by lining up the ends right side together at the perfect size, and sew. trim the extra strip.


Sew it in place.

Check the opposite sides for holes in the sewing, and tag along fabric.
Fold up

Then down on the inside and sew encasing the raw edge from attaching the strip.

The unattached edge of the strip does not need to be encased because it will not fray.
Use a large zig zag stitch to sew in place. Or use a double needle for a more professional look.
I do not pin the neck line I find it is actually easier to straiten things as I go.
Trim the extra slack.

Sew the sleeves by folding over once and sewing in place. A bulky hem is not needed. The edge again will not fray.

Sew the hem the same way.

Peonies
Start by finding some condiment jars spice jars etc. and make a large and small circle template of your desired size. (if they are a little big you can trim your template once it is made)

using the biggest circle figure out how many look good on your dress.

Cut 5 big and 4 small circles (for each flower), and a strip that is 2”by 1/2 “
it works better if the 2” direction is the strechiest.

Start with one of the large circles as a base.

Fold the circle in half, then in half again making a triangle shape. Do not line up the edges perfectly it is better if you do not.
pin the 4 big triangles like this.

prepare all the flowers you want to use to this point.
Attach to the shirt by sewing across the middle in an x be careful not to sew any of the triangles yet.

Attach the triangles by sewing the tip in place like this.

Then make the small circles into triangles too.

place them not lined up with the large ones sew in place the same way you did the large ones. make sure to go back and forth on each corner a few times.
Take to your strip and twist until it bunches up.

and sew right on top of it to make the center of the flower.

The stitching will not show on most knits. trim the extra strip if there is any.

these flowers are very different from knit to knit. these ones got very curled up after it was washed. and thicker knit makes more fluffy flowers.

Now go soak up the sun with your little one.

I will do a round up of other embellishments soon.

Monday, May 16, 2011

Make it Modest : under where?

 
Posted by Picasa

baby tights, Little girl leggings (these are more warm than anything), shorts,and the diaper cover.
unless you have pristine little girls they are going to show off underwear when wearing dresses. there are a few easy things to do about it.

Sunday, May 15, 2011

Make it modest: Slips

 
Posted by Picasa

tulle underskirt,built in slip this can be used to make a peek-aboo skirt too. half slips this works for adults too!

Slips are a great way to make a dress not embarrassingly see through. they can also add some thickness and twirl to little girls dresses. they also reduce static cling, and make skirts more comfortable to wear.

and my slip with sleeves tutorial(it can be made sleeveless too)

Saturday, May 14, 2011

Make it Modest: the slip with sleeves Tutorial

L is wearing a patchwork circle skirt
(and the slip backwards)
The slip with sleeves saves the trouble of a slip and a shirt. I like to encourage my kids to dress themselves as soon as they can. This makes it easier. It also makes life easier than trying to add sleeves to all those dresses (I have 3 girls)

supplies:
You need 1 yard of slip fabric (or other fabric like linen if you want it to look more like a shirt)
And all the usual sewing stuff (pins sewing machine etc..)
Lace is nice (I did not use it)

Just a few tips:
It is hard to feel when fabric is being sewn in that you don’t want. Make sure to keep things straight.
Pin this fabric is slippery.
This stuff rolls just be aware.
Things shift adjust regularly as you sew.


Pattern

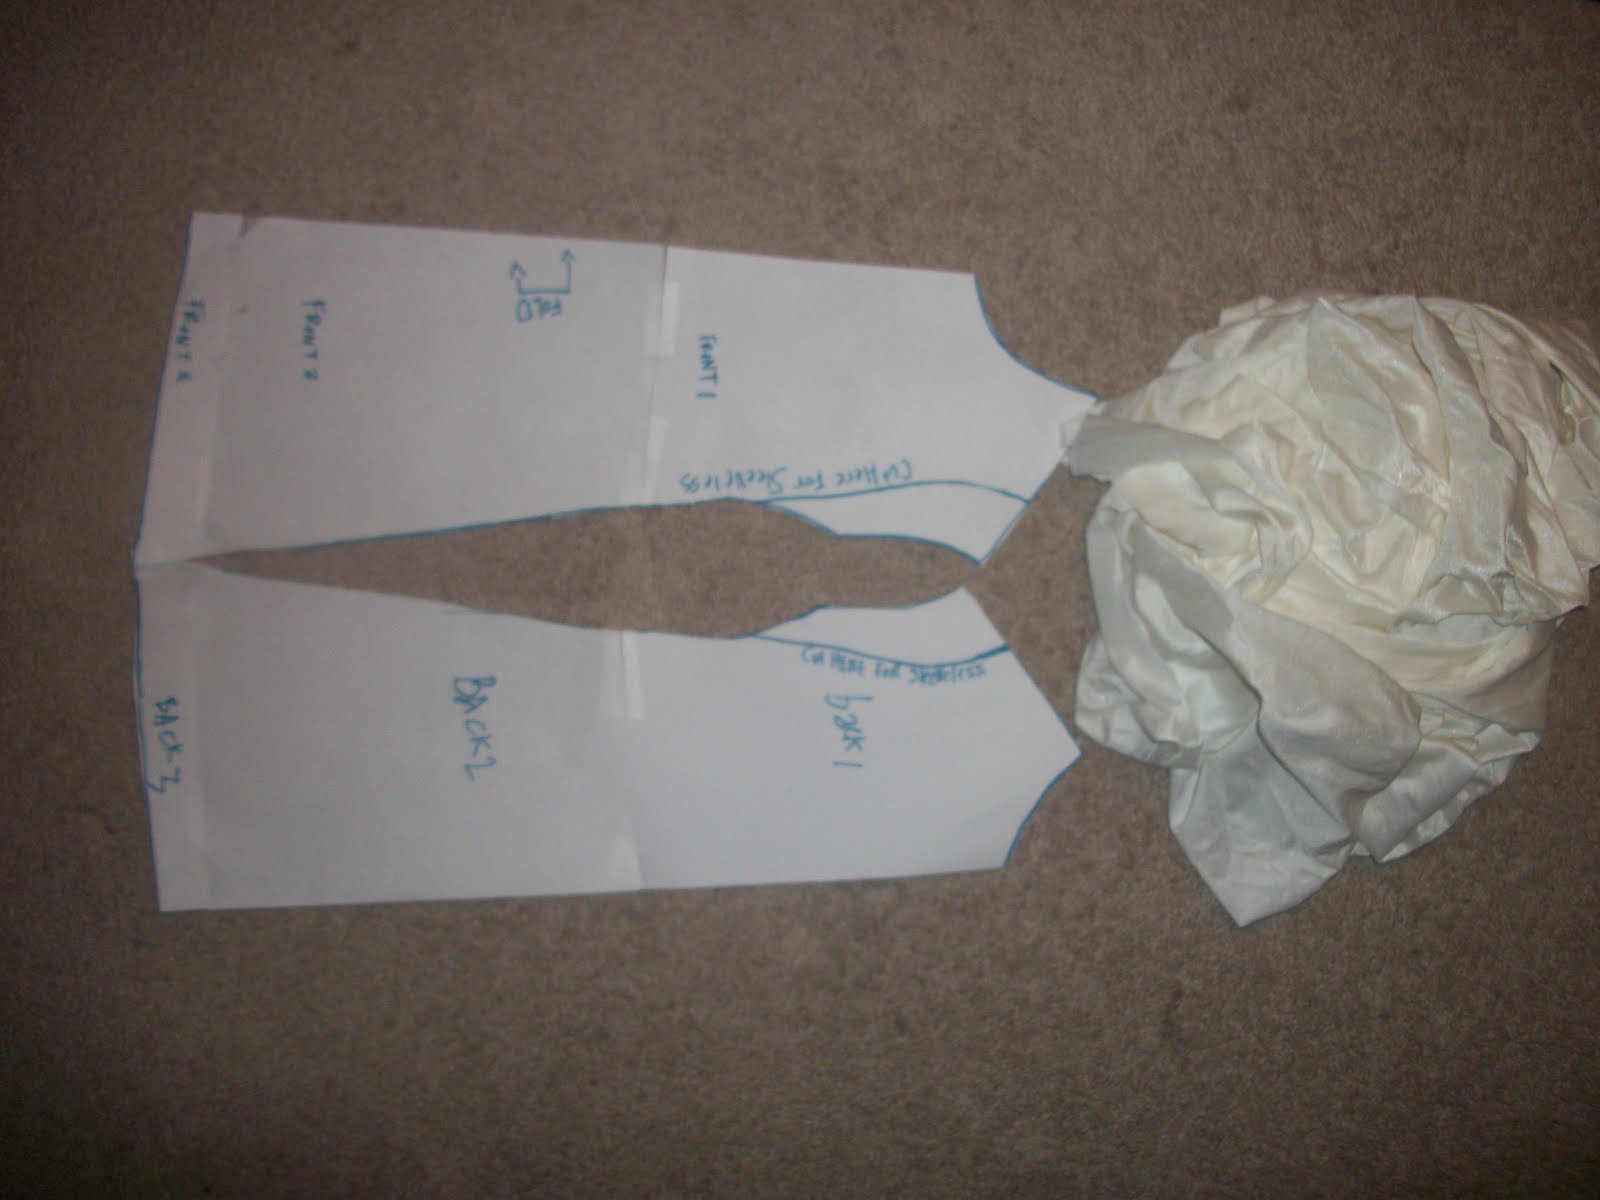
The pattern for this dress is here please forgive the wonkyness. Tape with no overlap.
This makes a 3T-4T size for a 5T- 6-T size add 2-4 inches to the hem and make the head and sleeve holes bigger.

If you want different sleeves you can use the sleeveless slip option on the pattern and make any of these sleeves you like better. I recommend the flutter sleeve, or even make 2 of different size flutter sleeves and and layer them.

Cut the fabric.

Cut on the fold. One of each piece


And a 24” by 2” strip (for the neck hole)

Sew it

Start by lining up the pieces (right side together)


Pin and sew the shoulders.

Sew the sides below the sleeves.


Try it on.

Cut the arm and head holes for best fit.


It can be hard to pull it over the head when finished if the head is big.. And secure with a little more stitching


For fabric other than slip fabric use bias tape here is how you make it. And here is how you put it on. Make sure to make the neck hole bigger because there is no stretch.

or use lace by pressing the top,and pinning on lace and topstich.

Turn right side out.
Pin strip right sides facing to neck hole.


Line the ends of the strip up and stitch to fit. Sew (this is where you need to watch for sneaky fabric that tries to slip into the seam.)Check the other side for tag alongs and holes in the sewing.

fold up.


fold over edge leaving ¼-1/3 inch on the front showing encase raw edges from attaching the neck band.
Pin in place


...and Sew There is no need to tuck in the raw edge of the unattached side of the strip because this fabric does not fray.


if it looks funny just fold it in and topstitch. trim the extra unattached edge of the strip off (be careful not cut the slip)


Press the edges of the sleeves over. Hem them.
Hem the bottom of the slip.
Tada!

this is a shortish almost 6 year old. I made this for the 3, almost 4 year old.
Related Posts Plugin for WordPress, Blogger...