My measurements make a 6-9 mos. size
Gather supplies:Find 2 fabrics. ½ yd each is plenty
No serger!
Buttons (I have a thing for buttons)
Regular sewing stuff (i.e sewing machine, pins, thread, etc…)
Measuring tape
Iron
Elastic
Seam ripper
Make a pattern (this is easy trust me)
Get a pair of pants that fit well for a reference
Measure big. I add 2” for waist at this point and 1” for everything else.
Waist: 20”
Inseam (crotch down) 9”
Outside of leg (from waist): 14”
add 1” to outside measurement , and subtract 1”on the outseam to accommodate diaper and make up for seams.
If you want reversible cuff pants add up to 4” to the length of the pants depending on if you want large or small cuffs.
And I like to add even more to the waist since this is an elastic top.
New measurements:Waist 22”
Inseam 8”
Outside 14”
Now for the fancy part get 2 papers, and tape them together the long way:

Draw a line the length of your outside measurement. (this is your fold line)

Now take the waist measurement and divide by 4 draw that line perpendicular to the last one.

Now draw the inseam line parallel to the 1st line.
Now add 1” to your waist/4 measurement and make a line to it from the top of the last line. And shave .5” off the top line (waist)

And turn it into this shape.

Now cut er’ out!
Cut the fabric Main:
Main:Fold it the long way lay pattern on fold line. Cut 2
do the same with 2nd fabric.

(this is 2 pair of pants)
Sew:

Sew each leg piece along the inseam (right sides together unlike this pic. it takes a while and damages the fabric to unpick) make sure to check both sides of the stitching to make sure there are no holes in the seams this is hard to fix later.
(there should be 4)

Turn one leg right side out and put it inside the other one. Line up the inseam and pin the seam. Sew up the crotch seam.

Make the other pair of pants

Turn one side of pants right side out. And one right side in.
Put them inside each other right sides facing.

Sew along the top.


Now turn them by putting both legs through one leg hole of the other pair. And tuck them into each other.
PRESS:
Press the top.


Press 1/4 “ seam on both pieces of both legs. (hide the raw edges)
Finish:
Top stitch the top seam as close as possible to the top. (I like the word top apparently)

Line up the bottom of the legs. You need to pin here. It is much easier if you do.

Sew up the legs.
The top:
Use a seam ripper to make a hole in the seam to place the elastic.

Make a casing for the elastic By sewing the with of the elastic + ¼” from the top stitch.

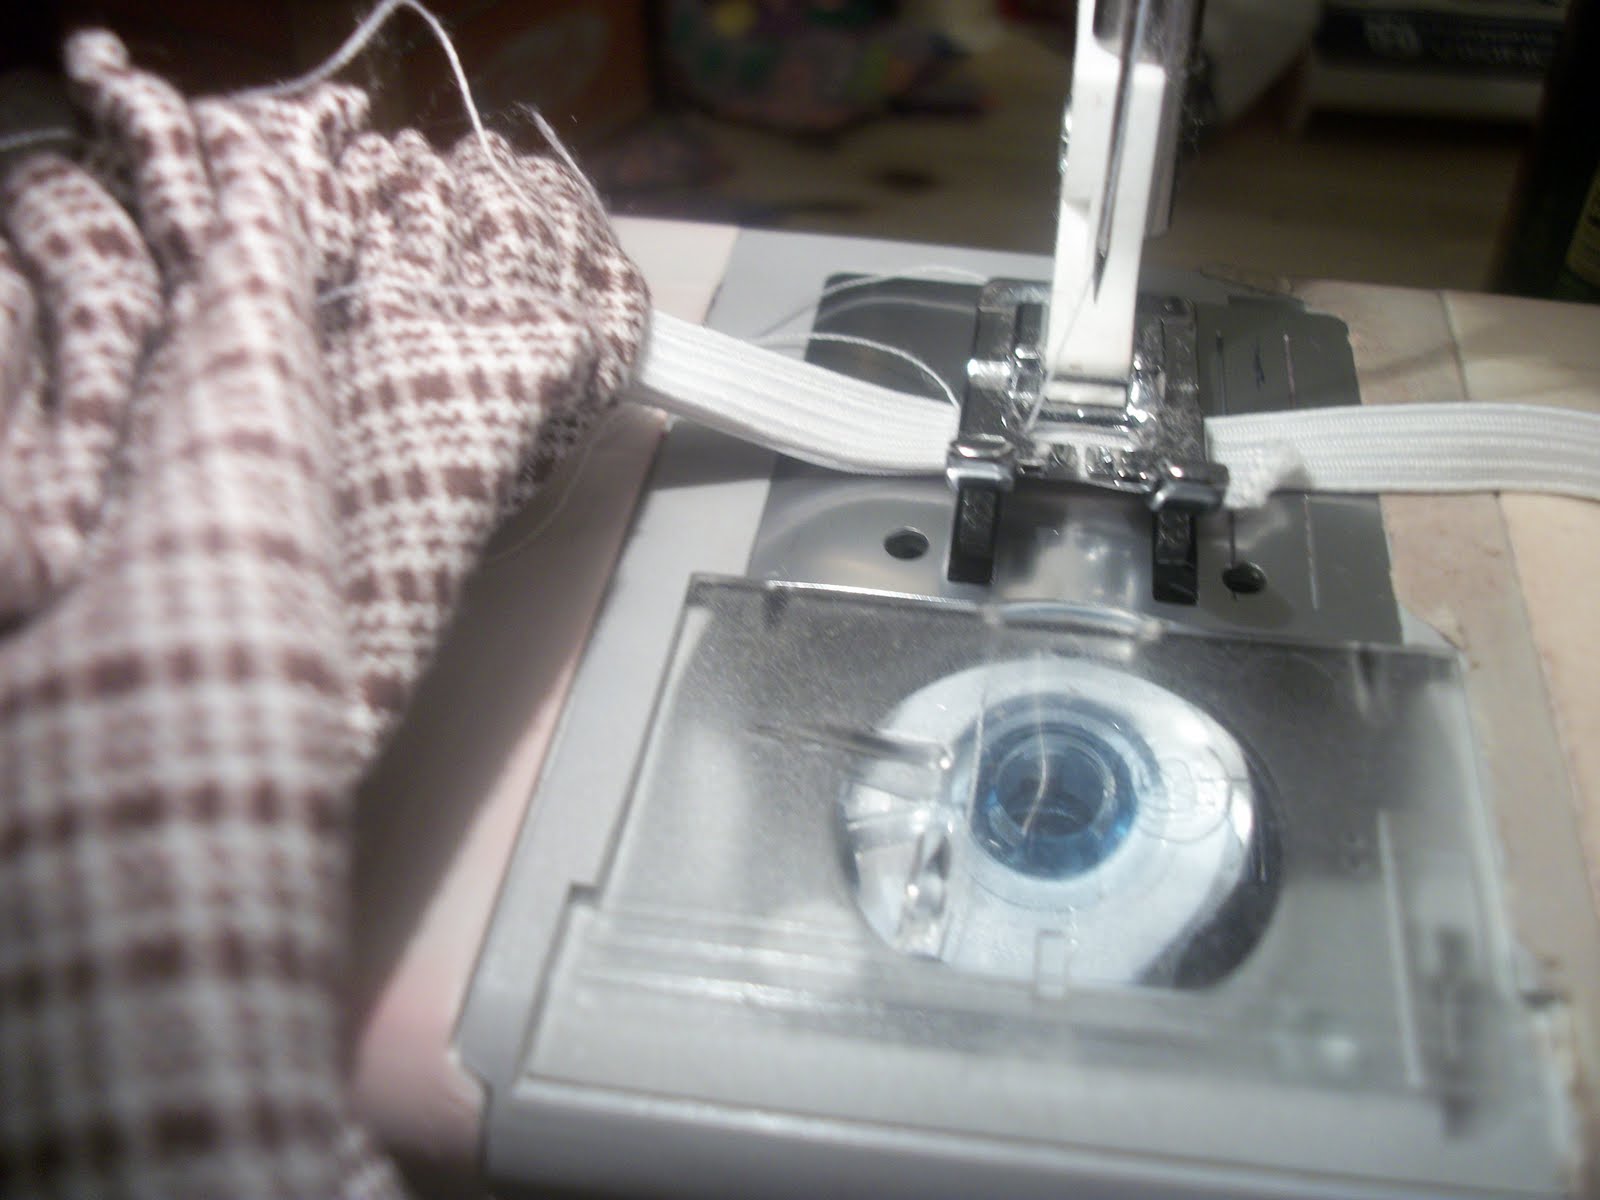
Put in the elastic. I don’t cut the elastic at this point it cuts down on wastage.
Attach a safety pin to the end thread it through.
Pull it tight enough that it will hold on the pants and loose enough that it stretches to the same size as the elastic-less pants easily.

Sew The elastic.

Stitch up the hole.

Clip threads, fold up cuffs and find a baby.
I will make a part 2 that explains how to add a button tie for the cuff , and other embellishments.