Showing posts with label baby clothes. Show all posts

Monday, May 16, 2011

Make it Modest : under where?

 
Posted by Picasa

baby tights, Little girl leggings (these are more warm than anything), shorts,and the diaper cover.
unless you have pristine little girls they are going to show off underwear when wearing dresses. there are a few easy things to do about it.

Sunday, May 15, 2011

Make it modest: Slips

 
Posted by Picasa

tulle underskirt,built in slip this can be used to make a peek-aboo skirt too. half slips this works for adults too!

Slips are a great way to make a dress not embarrassingly see through. they can also add some thickness and twirl to little girls dresses. they also reduce static cling, and make skirts more comfortable to wear.

and my slip with sleeves tutorial(it can be made sleeveless too)

Saturday, May 14, 2011

make it modest: sleeves

modesty part 1:


making modest clothes is one of the best reasons to learn to sew. and with the internet it can be even less expensive.
the great thing about a treasury of patterns is that all you need is the pieces you want and you can make anything.
Adding sleeves can be done easily with the right instructions. you can make almost any dress or shirt modest. you can even add sleeves to store bought dresses.

 
Posted by Picasa


ruffle sleeves, flutter sleeves. this can be used on more fluttery fabric like organza. puffed sleeves this has both methods shown. princess cap sleeves, summer dress cap sleeve this minus the cuff piece and hemmed makes a great sleeve for an organza type dress. pleated puffy sleeve, set in sleeve, baseball sleeve


this is a post with links to even more sleeves. like flairs, long sleeves etc...

Friday, May 13, 2011

101 free patterns for modest dresses (and skirts)

Part 1

one of the great things about the internet is the volume of information. and patterns are one of my favorite things shared. check out all these great ideas for little girls.


little girls

 
Posted by Picasa

5$ tulle ruffle skirt, full and fluffy pettiskirt, the bustle skirt, The Cotton Candy skirt, Cinderella costume, the Belle dress, Patchwork circle skirt, the cupcake skirt, Twirly skirt, A simple skirt, "a", Circle skirt with pockets, the poppy dress, painting the roses red, Spring fever dress, Blessing/conformation dress, The party dress, the itty bitty baby dress, market skirt, Skirt with hidden elasticized waist, Bubble skirt, pillowcase ruffle dress

sharing

I like to combine Ideas. Make it and love it is a great place to find them.This blog is evidence that I am not the only one making pants this month.

she has some great ideas and a better pattern than my instructions if you are making pants for older kids. you can use the cut line as a fold line if you want to preserve a pattern on a fabric, or save some time.

you can also make them adjustable in the waist and flat on the front and shorts!

made by Rae is another great place. this is a nice method for pockets and
she has a pattern too. (if you don't want to make your own for babies.)

here are a few more tricks: like the button cuff.

to add this your pants should be lined or you can make the 2nd pair of pants (lining) out of muslin and a 5" cuff along the bottom. make the straps by cutting 4 1"x5.5" strips. sew with right sides together along sides and sew a triangle shape on one end. turn, and add a button hole the size of your button.
Tucking under the raw (top) edge of the cuff strap, sew it onto the inner side seam of the leg. The bottom tip of the cuff strap should not protrude below the hem of the pants. I sew a little square pattern.
Turn pants right side out and sew the button right in the middle of that square, on the outside of the pants. I love it.
also ruffles seem to be in right now

to make some like this: use the pattern I made (the seam along the outside of the leg would ruin the pattern on the fabric) and add 4" to the legs that's it.

pants are easy and cheap to make. they can be made from old worn out pants, and small ones don't use much fabric.

Tuesday, May 3, 2011

the perfect pants Tutorial


My measurements make a 6-9 mos. size

Gather supplies:

Find 2 fabrics. ½ yd each is plenty
No serger!
Buttons (I have a thing for buttons)
Regular sewing stuff (i.e sewing machine, pins, thread, etc…)
Measuring tape
Iron
Elastic
Seam ripper

Make a pattern

(this is easy trust me)
Get a pair of pants that fit well for a reference
Measure big. I add 2” for waist at this point and 1” for everything else.
Waist: 20”
Inseam (crotch down) 9”
Outside of leg (from waist): 14”

add 1” to outside measurement , and subtract 1”on the outseam to accommodate diaper and make up for seams.

If you want reversible cuff pants add up to 4” to the length of the pants depending on if you want large or small cuffs.
And I like to add even more to the waist since this is an elastic top.

New measurements:
Waist 22”
Inseam 8”
Outside 14”

Now for the fancy part get 2 papers, and tape them together the long way:

Draw a line the length of your outside measurement. (this is your fold line)

Now take the waist measurement and divide by 4 draw that line perpendicular to the last one.


Now draw the inseam line parallel to the 1st line.

Now add 1” to your waist/4 measurement and make a line to it from the top of the last line. And shave .5” off the top line (waist)


And turn it into this shape.

Now cut er’ out!

Cut the fabric


Main:

Fold it the long way lay pattern on fold line. Cut 2
do the same with 2nd fabric.
(this is 2 pair of pants)

Sew:


Sew each leg piece along the inseam (right sides together unlike this pic. it takes a while and damages the fabric to unpick) make sure to check both sides of the stitching to make sure there are no holes in the seams this is hard to fix later.
(there should be 4)

Turn one leg right side out and put it inside the other one. Line up the inseam and pin the seam. Sew up the crotch seam.

Make the other pair of pants


Turn one side of pants right side out. And one right side in.
Put them inside each other right sides facing.


Sew along the top.


Now turn them by putting both legs through one leg hole of the other pair. And tuck them into each other.

PRESS:


Press the top.


Press 1/4 “ seam on both pieces of both legs. (hide the raw edges)

Finish:


Top stitch the top seam as close as possible to the top. (I like the word top apparently)


Line up the bottom of the legs. You need to pin here. It is much easier if you do.

Sew up the legs.

The top:


Use a seam ripper to make a hole in the seam to place the elastic.


Make a casing for the elastic By sewing the with of the elastic + ¼” from the top stitch.


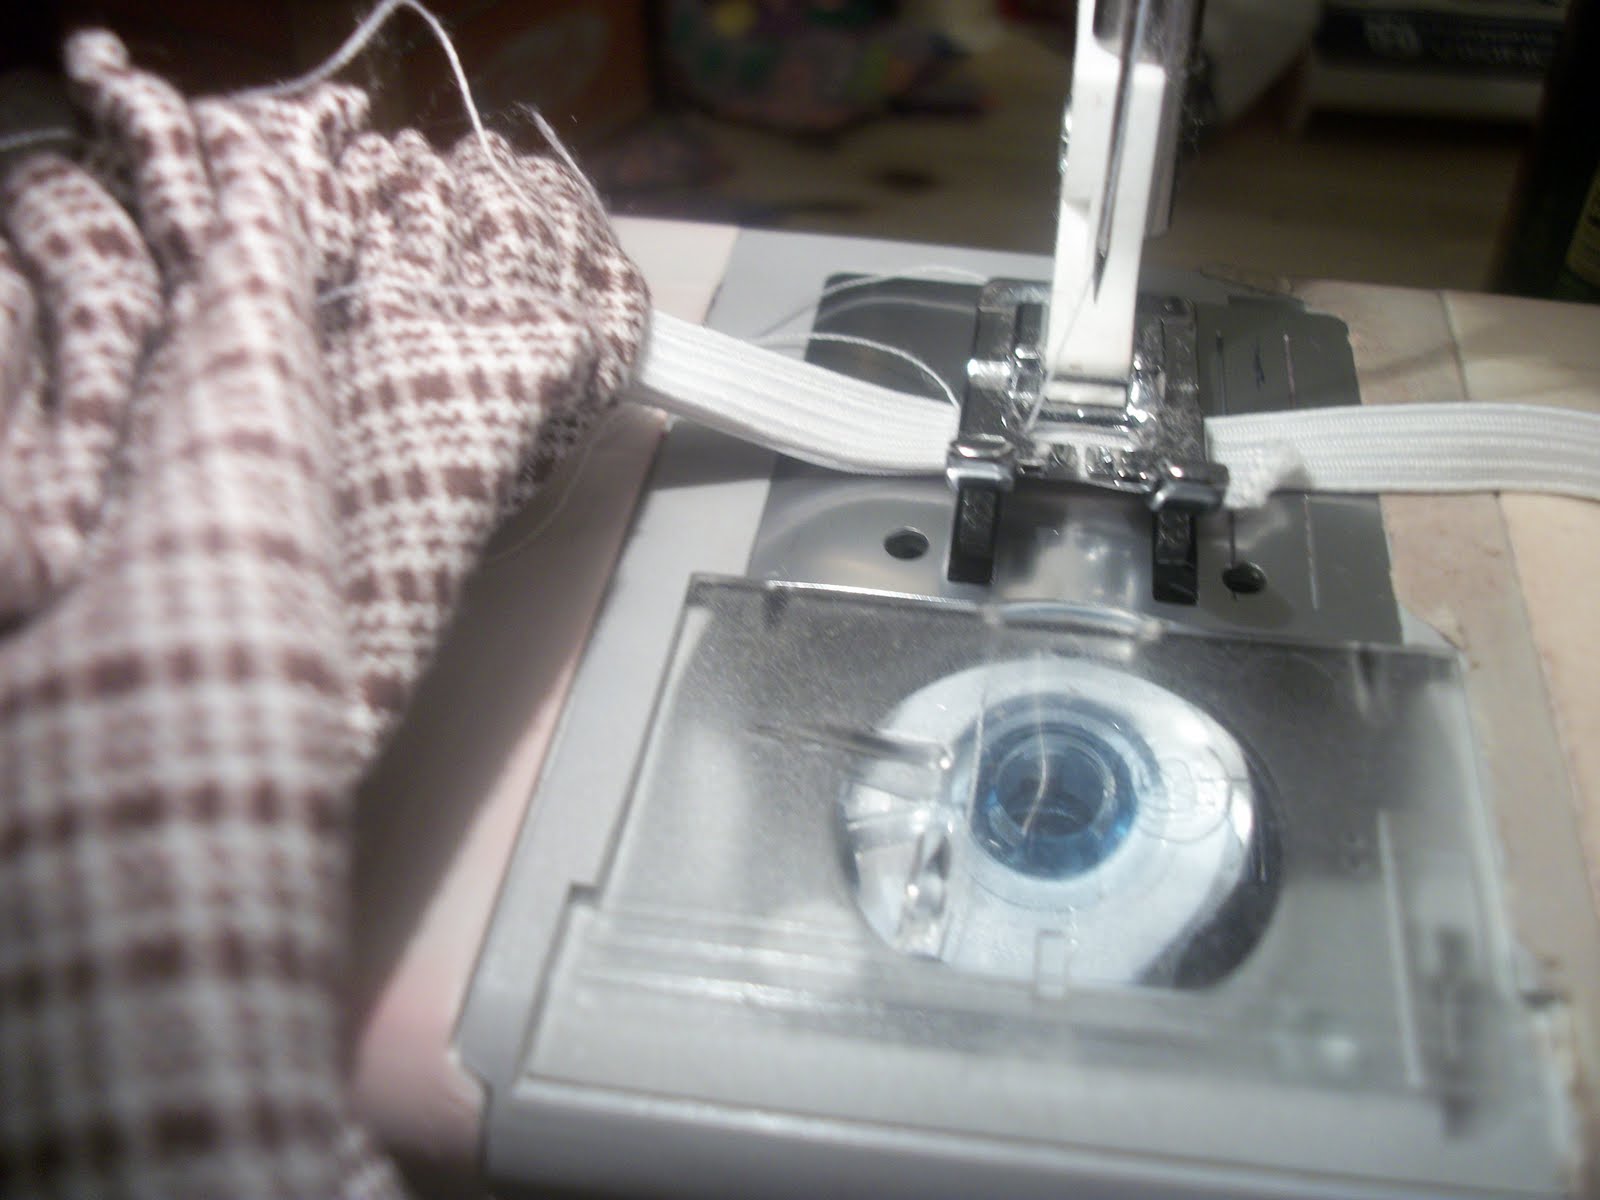
Put in the elastic. I don’t cut the elastic at this point it cuts down on wastage.
Attach a safety pin to the end thread it through.
Pull it tight enough that it will hold on the pants and loose enough that it stretches to the same size as the elastic-less pants easily.

Sew The elastic.

Stitch up the hole.

Clip threads, fold up cuffs and find a baby.
I will make a part 2 that explains how to add a button tie for the cuff , and other embellishments.
Related Posts Plugin for WordPress, Blogger...